
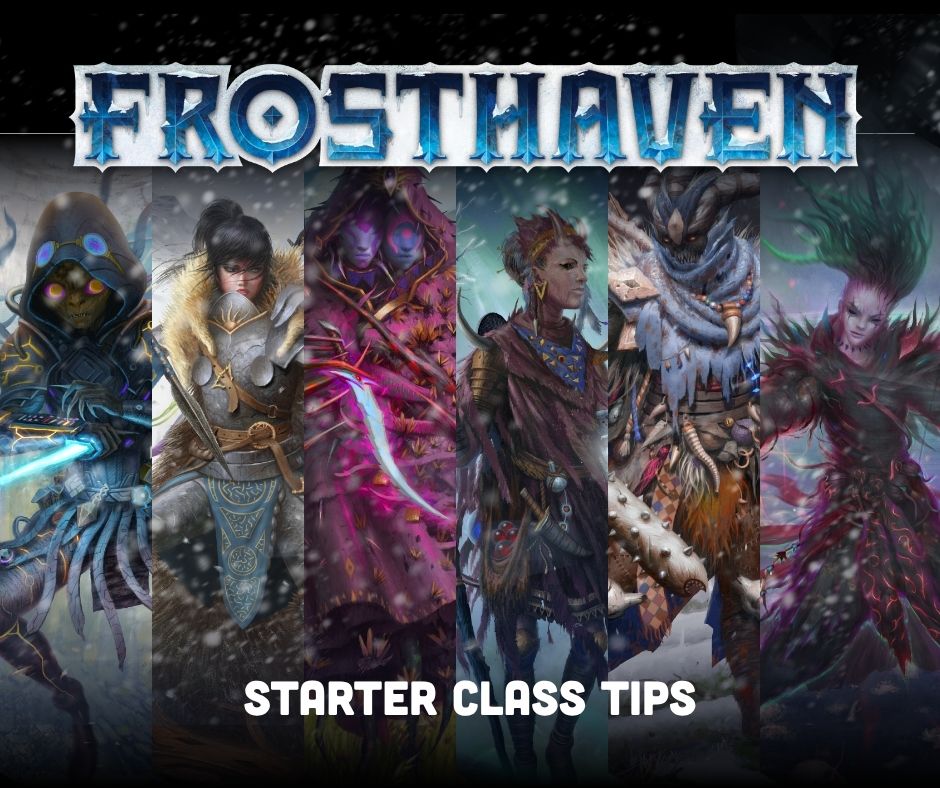
Frosthaven is a cold, unforgiving place. If you want to be able to tackle the challenges of the frigid north, you’ll need to be on your A-game. If you find yourself struggling with any of the six starter classes in Frosthaven, we wanted to give you a resource that could provide you with some help.
A month or so ago, Cephalofair Games Community Manager Pete started a thread on Reddit, asking community members and Frosthaven veterans their best tips for playing the six starter classes. Here’s what they had to say, along with Pete’s comments!
Banner Spear:

Uchess: “Banner spear is your tank support, she can heal, attack from range, buff your team and do formation based attacks (these require one ally in a specific position, it can be a summon). Communication is key.”
While Banner Spear has the appearance of a front-line tank (and can definitely fill that role well), they are a very versatile class as this comment suggests.
LowGunCasualGaming: “Banner Spear’s Formation attacks are critical to their damage and utility. Consider combining ‘At All Costs’ Bottom Action Summon with a Top Action attack that requires an ally to pull off a powerful attack in 1 turn.”
The Reinforcement on At All Costs is much better than you might think at first glance. It lets you set up and hit a formation attack or two since you get to control its movement, and despite having only one health, that’s still an attack (that may have deal far more damage to a figure with more health) that it can absorb for you each rest cycle. And it nets you an XP!
I_Heart_Cello: “If monsters aren't already in the positions you need, use the bottom Pull on Javelin to get them in the right spots. “
I agree with Cello here. The top of Javelin is a solid Attack 3 at range 3 that infuses wind. It’s really easy to use when you’re getting started and a bit more unsure of what you’re doing. But using that action each cycle means you’re not using the BOTTOM of Javelin, which is a practically surefire way to set up a formation attack each time you use it.
Rnorman3: “ "More than any other starter, I think her cards have the biggest spread between the builds. I’d try to decide early if you’re doing tank, support/banner build, or positioning based DPS with her attacks."”
I think Rnorman3 is on point here. With the ability to tank, move Banners around, and do formation attacks, don’t feel like you need to or should be doing it all. Figure out what your party needs and focus on that. And moving Banners along with you through a scenario is just very difficult at low levels.
Blink Blade

Sophibeans-1: “When choosing your cards for a scenario, make sure to bring cards you'll be happy to use at Slow speed. Also, remember that Long Rests can be declared Slow, effectively giving you a free Time Token.”
Yes, make sure you always long rest at a SLOW speed so you can get your time token (as long as you have fewer than 2), or at the very least not use one up.
JCH2014: “Learn about initiative weaving: going very slow one turn and fast the next one can be an amazing effective way to avoid being attacked and eliminating enemies by effectively going twice before the monster can respond with the added bonus of not losing all your fast turns.”
When I play Blink Blade I almost always go slow on turn 1 to let the enemies approach and build myself up to two time tokens. If I can go after them, I can often strike them after they’ve moved, and then go quickly the next turn with a strong fast ability. Mid scenario I like using the loss on Drive Recharge to try and get my time tokens somewhere around 3 or 4 heading into the final room.
Boneshaper

Uchess: “Boneshaper is your necromancer/support, she can summon disposable summons that cost health, then she can buff the summons or give them commands through abilities, she can debuff the enemy through curses and poison and can heal allies as well.”
Fully agree, great summary from Uchess here.
DwarfSA: “With non-loss skeletons sometimes it's a good idea to take them down before a rest, or if they are causing some clogs. If you're in a 4 player party, consider the Wraith as a good turn 1 summon unless lots of enemies have shields “
While it may seem strange at first, DwarfSA is correct here in that if your skeletons have fallen behind or are cluttering up key spots, it can at times be the right move to just send them to your discard, removing them from the map. The Wraith is also a good point. Some discount the attack 1, but it is still free damage on most rounds, and it pairs really well if you or your allies start poisoning enemies, doubling its attack value.
Madscience_Gaming: Your summons cost you two health but effectively gain you three. Or more if they get overkilled, which they often will.
While it can be scary at first to lose health as you bring your skeletons onto the map, Madscience is right that it nets you positive health, and often times will functionally net you even more than that. If a three-health skeleton is hit by an enemy for an attack value of five instead of you, that’s extra preventative value it provided you and your team.
Lombax4095: “Don't 'waste' your fast cards on turns where you're going slow. You'll need them to go before the monsters once your summons are out and positioned ready to attack.”
Boneshaper has precious few fast-initiative cards. Play them wisely, and almost always for their fast initiative on a turn where you want your summons to do damage before inevitably dying. If you’re too slow, you may lose a full round of attacks your summons could have done.
Deathwalker

Nimeroni: “Shadow tokens are your lifeblood, never be afraid of burning Eclipse if you need tempo. Your allies need to focus on the enemies you mark with Call to the Abyss.”
Your only two reliable ways to generate shadows early on, a key to playing the Deathwalker well is figuring out if you need the tempo of quickly getting shadows out early with Eclipse, or if you can play it slower with Call to the Abyss. Deathwalker loves scenarios with lots of little enemies like imps because when Call to the Abyss is in play you’ll generate shadows constantly and feel incredibly powerful. But if the scenario has fewer and larger enemies, Call to the Abyss might not feel like as good of a play.
Rnorman3: “Lean on fluid night and your ranged attacks with the call of the abyss passive. Your early shadow generation is tough but it does get better with levels.”
The top of Fluid Night is no doubt an exceptional card. Pairing it with the bottom of Dark Fog lets you hit most any enemy on the map once you have a shadow in play.
DwarfSA: “Don't be afraid to open with Eclipse and save Call to the Abyss until later. It's a good tempo play that gets you immediate value “
Dwarf makes a good point here in that if you do decide to play Eclipse early for the tempo, you’ll generally still need to play Call to the Abyss later on or you’ll run out of shadows and feel very weak.
Sophibeans-1: “When using Call to the Abyss, try to aim for enemies with low HP, so that you can mark them, finish them off and get a Shadow right away. Waiting around for a marked enemy to die can really drag things out.”
This is just a great point by Sophibeans!
Drifter

Tables61: “Managing your persistent bonuses is key. Try to play them early on, and make use of actions that let you keep them in play for longer”
Turn one of the Drifter in almost every scenario should be playing two persistent abilities with charges. This is central to the Drifter’s gameplay.
VictoryEmbarrassed58: Early on focus on melee. The ranged build, while just as fun, is fairly reliant on perks…if you're interested in that build perhaps consider waiting to play it as a slightly later character.”
I agree with VictoryEmbarrassed58 here that at level 1 the melee build for the Drifter is better than the ranged build. The ranged build comes online around level 4 and is definitely a bit trickier. If you’re struggling, the ease of the melee build along with other bonuses like movement, healing, or retaliate work very well.
Nimeroni: “Crushing Weight (+2 melee attack) + Continuous Health (+2 heal) is the foundation of that class when played as a starter…Your hand is very large, don't be afraid to play 4-5 persistent cards.”
While 4-5 persistent effects is definitely a very aggressive approach, I think Nimeroni points out the best two persistent abilities to start with for the average play. Adding a third in when you’re comfortable should be no problem at all.
Geminate

Rnorman3: “Don’t be afraid to use your loss cards - you have a 14 card hand! Some players can be hesitant because geminates losses are generally weaker than other classes, but it’s still worth it for the tempo + elements (it’s one of the few ways to actually generate elements).”
If you are new to the ‘Haven games then you’d have no way to know how MASSIVE the 14 card hand for Geminate is. No other class to date has a hand that big. Because of that, your deck is built around needing to play losses to get XP.
Sophibeans-1: “Be very aggressive with loss cards. Unlike most classes, you have so many cards in hand (and can afford so many losses) that waiting for the "perfect" use case will only slow you down!”
I sense a theme here in our comments from community members!
PhilosophicalCrow: “Aim to keep 3 switch-form actions in each form. Preferably ones on attacks and on movement/effect (without targets)...If there are element-using monsters, use Harvest the Essence top-half to steal elements from them, keeping them weaker and you stronger.”
As a class with two split 7-card hands making up a total hand of 14, PhilosophicalCrow makes a good point here about how vital it is to have several cards that switch forms on both “sides” so that you don’t get stuck.
Tables61: “Positioning is critical for you - think about what form you will be in the following turn and position yourself accordingly. “
As if there wasn’t enough to worry about already, Geminate has cards that require an exact range to perform an attack. (For example, an enemy must be at exactly range four instead of just within range 4). This requires a lot of pre-planning, and is a reason I wouldn’t recommend this class to any new player.
2CATteam: “It's easier to switch forms every round than it is to switch forms only when one hand is out of cards. If you try to spend three or even four turns in one form, you'll quickly find that your other form can't do anything without having to rest early.”
Good point!
And one final general tip from VictoryEmbarrassed58:
“Do not fear retirement…It is necessary for ensuring the game works as key unlocks are tied to retiring. Consider it not as a loss of your character but an opportunity to see the game from a fresh perspective.”
Retirement is very important in Frosthaven in order to build the outpost and move the game along as the game expects. If you purposefully hang around way too long on a character you enjoy, you’ll lose out in other ways down the road. Keep retiring, you can always come back to play a class you really enjoyed!


Leave a comment
This site is protected by hCaptcha and the hCaptcha Privacy Policy and Terms of Service apply.